Introduction
Many students use CodePen to submit web assignments, so I thought I would write an article to introduce some of CodePen’s features, helping everyone use it more efficiently.
CodePen is an online development environment where you can write HTML, CSS, and JavaScript on a webpage, see results instantly, and share links with others. It’s very beginner-friendly with minimal learning curve, and I highly recommend it.
In CodePen, each web project is called a Pen. If you want more advanced features, such as private projects, saving local images and assets, etc., you need to pay to become a Pro member to unlock Project. However, the free version is sufficient for most situations.
Now that you understand what CodePen is, let’s see how familiarizing yourself with it can enhance your development efficiency!
Tip 1: Customize Pen Settings
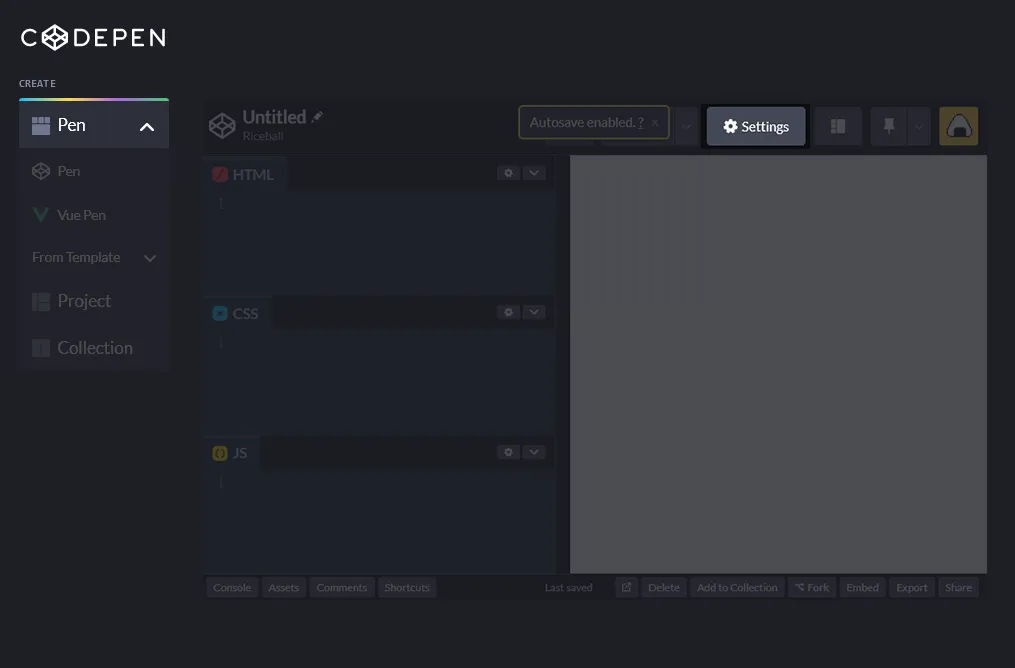
After logging in, you can click CREATE PEN in the upper left corner to create a new project, and you can select settings for that project in the SETTING in the upper right corner.
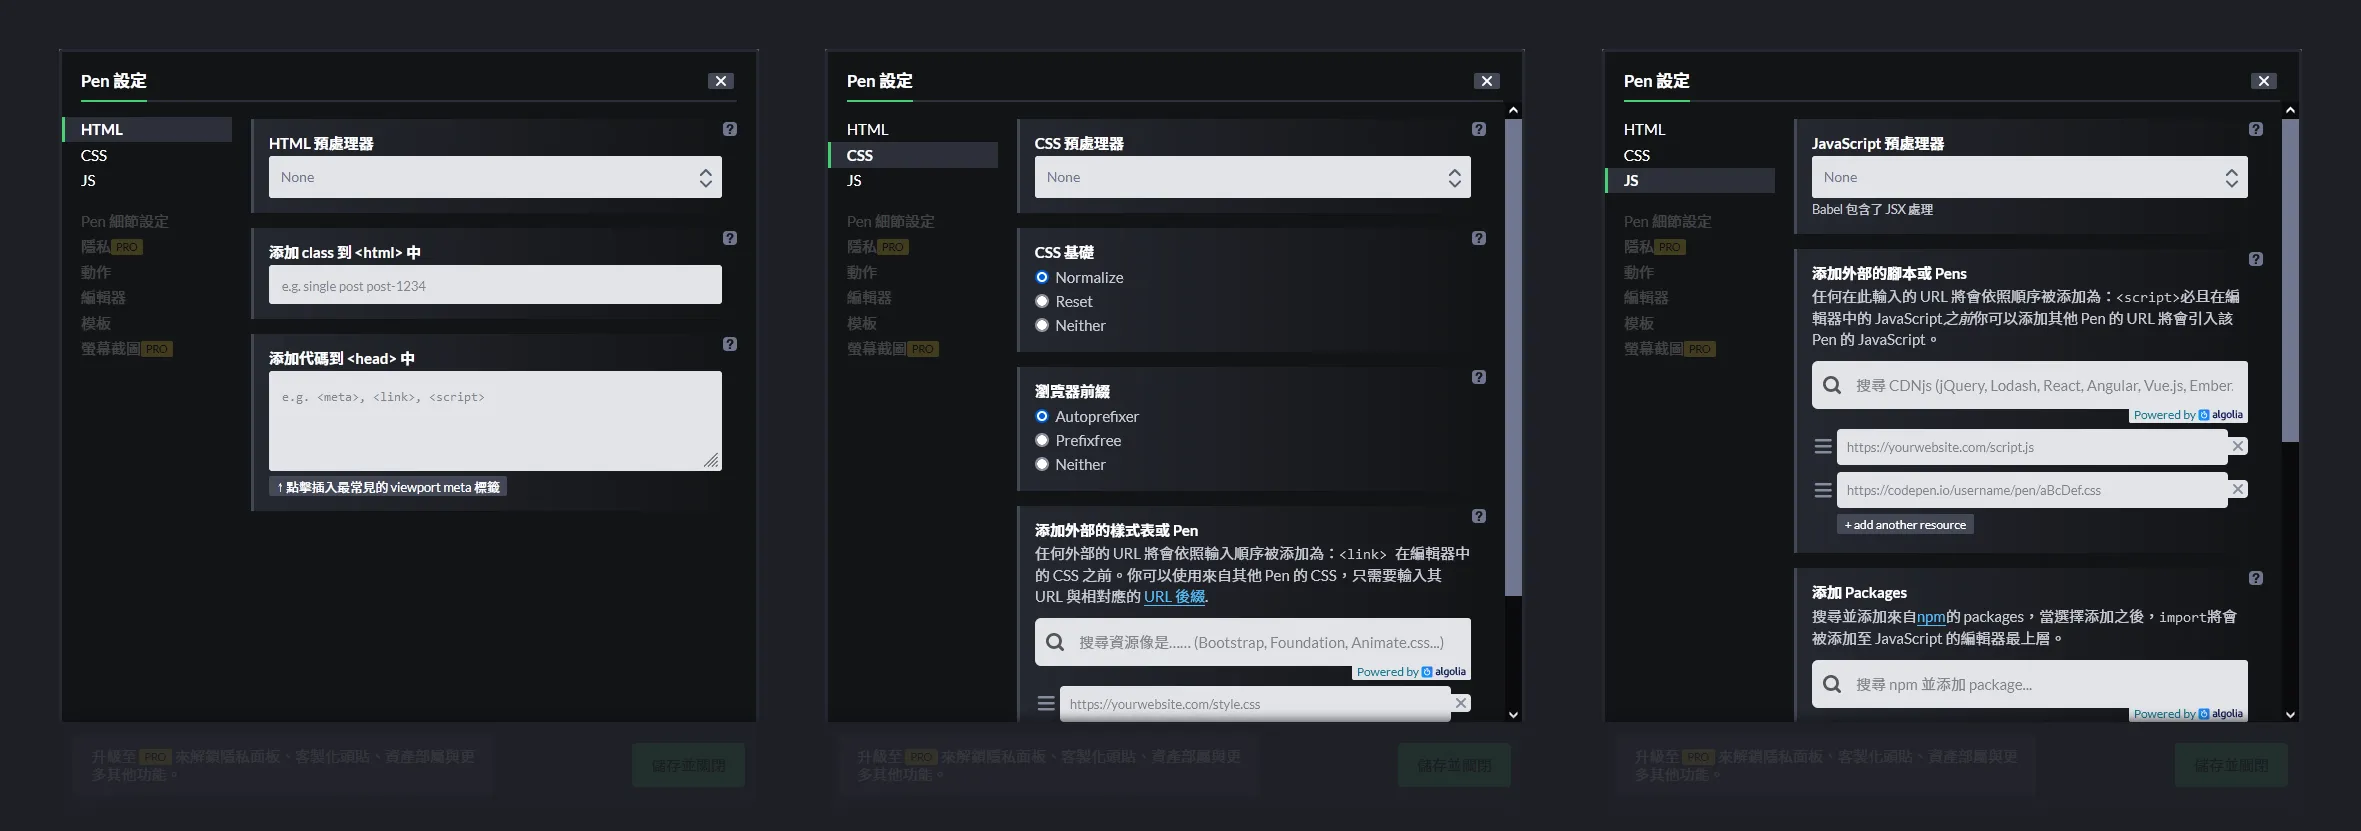
Here, you should note that CodePen will automatically write parts outside of <body>. If you want to change <html> or <head>, you can set it here instead of writing it directly in the HTML section of the editor. Similarly, if you want to add external styles or scripts, you can set them here instead of writing them directly in the CSS or JavaScript sections of the editor.
Tip 2: Organize Your Code
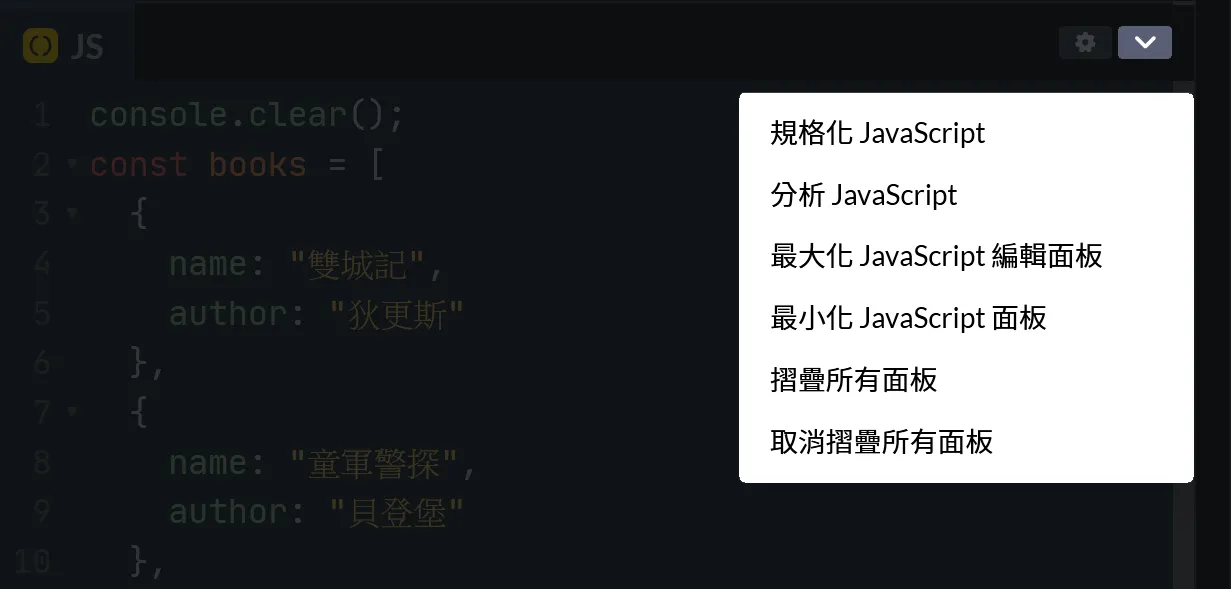
In a typical local development environment, you would use Prettier or ESLint to organize and correct your code. In CodePen, you can directly click the downward arrow on the right side of the panel to select the corresponding function. Utilizing the auto-formatting feature can make your code easier to read.
Tip 3: Customize Your Development Environment
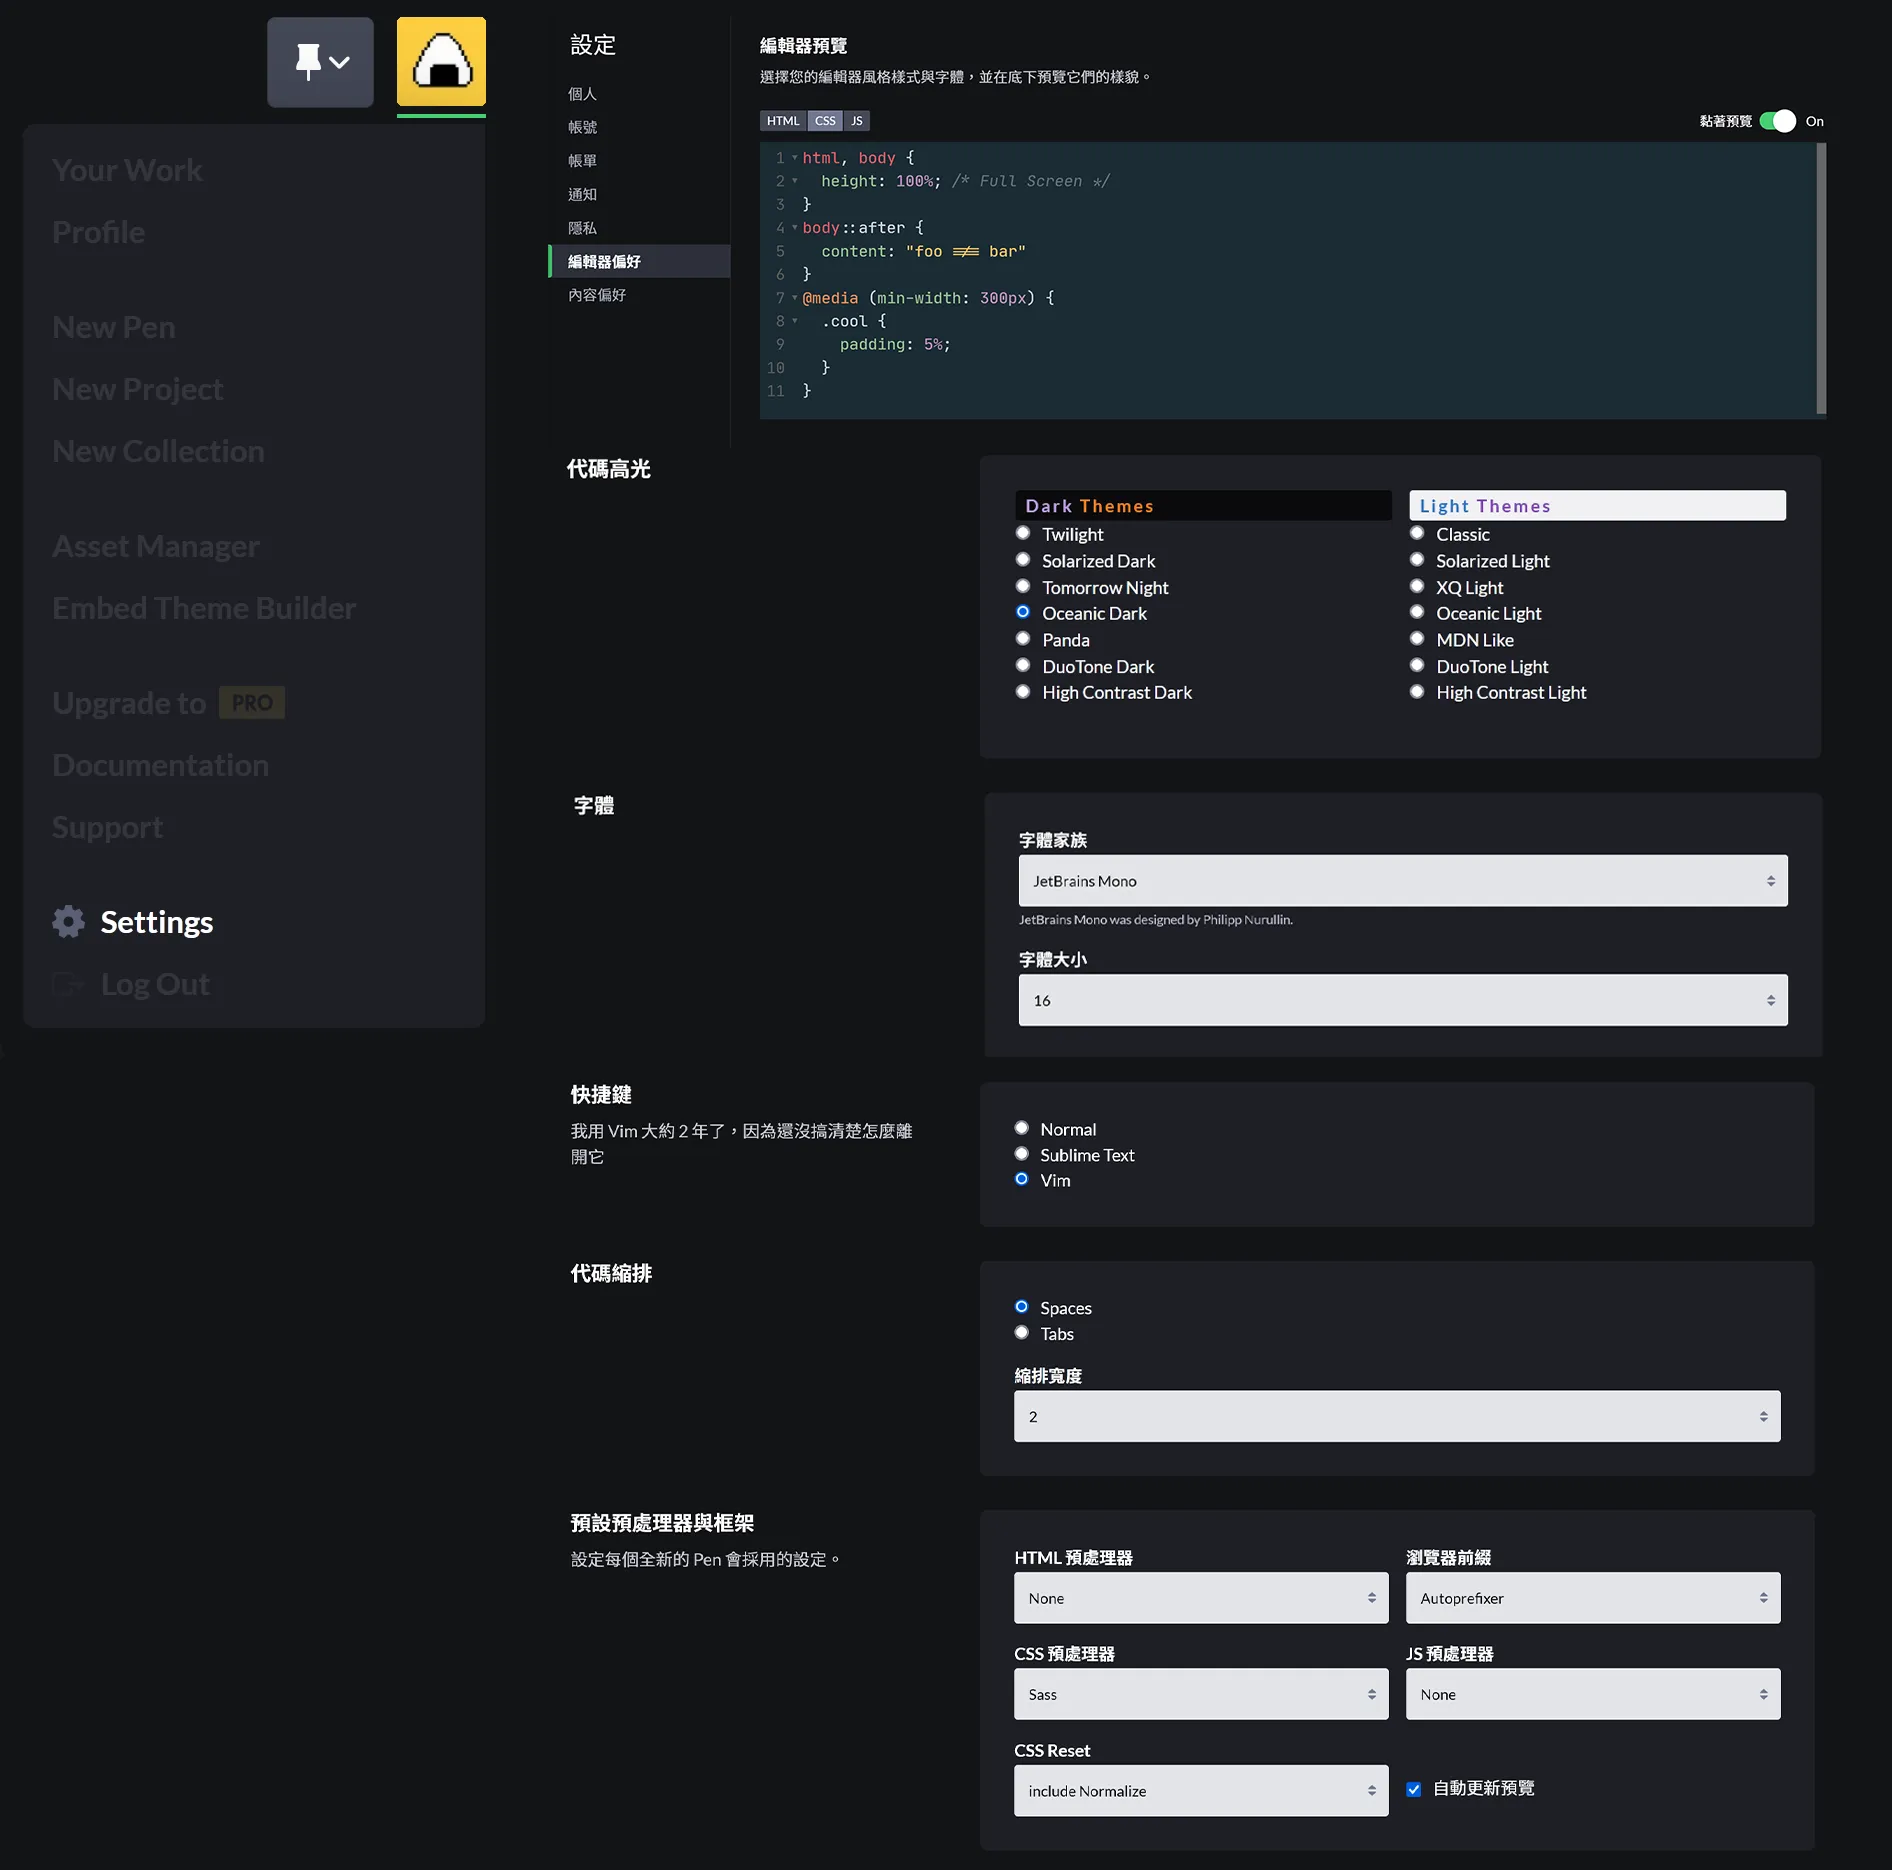
Although CodePen is convenient and easy to use, after a while, you may miss your preferred development environment. At this point, you can adjust your favorite editor features and appearance in the editor preferences. Personally, I like the combination of Oceanic Dark and JetBrains Mono font.
Other Questions: How to Use External Resources in CodePen?

When developing locally, you just need to write the relative path of the resource. But in CodePen, if you are not a paid member, how can you add the resources you want to your Pen? It’s simple; just find a website that hosts resources online, such as the commonly used image hosting service imgur. Just drag and drop the image onto the imgur webpage, and it will automatically upload and generate a link. This link is the URL of the image, which you can directly copy and paste into CodePen or any webpage.
Conclusion
Now that you fully understand how to use CodePen, go ahead and create some fun and interesting webpages!