Introduction
Recently, I have been exploring using Slidev for presentations, which is a web-based presentation tool built on Vite + Vue3. It integrates various packages to create presentations like slideshow software (PowerPoint/Keynote), primarily written in Markdown. This allows us to focus on content without spending too much time on flashy presentation software operations, making it an excellent choice for web developers or heavy Markdown users. If you have the following needs, then Slidev is a great choice for you:
- Finding PowerPoint/Keynote cumbersome and wanting a simpler presentation tool
- Enjoying writing in Markdown syntax or even creating presentations
- Wanting a web-based, free, and open-source presentation tool
- Looking for presentations that are easy to version control
Environment Setup
If you’re in web development, you should find it quite familiar and straightforward. Just follow the official documentation to set up the environment.
# pnpmpnpm create slidev
# NPMnpm init slidev@latest
# Yarnyarn create slidev
After installation, it will automatically execute and list links for the development server, presenter page, slides overview page, export slides page, etc. For future development, you can refer to the script commands in package.json.
√ Project name: ... first√ Install and start it now? ... yes√ Choose the package manager » pnpm
Slidev v51.3.0
theme @slidev/theme-seriph css engine unocss entry D:\USER\Desktop\first\slides.md
public slide show > http://localhost:3030/ presenter mode > http://localhost:3030/presenter/ slides overview > http://localhost:3030/overview/ export slides > http://localhost:3030/export/ remote control > pass --remote to enable
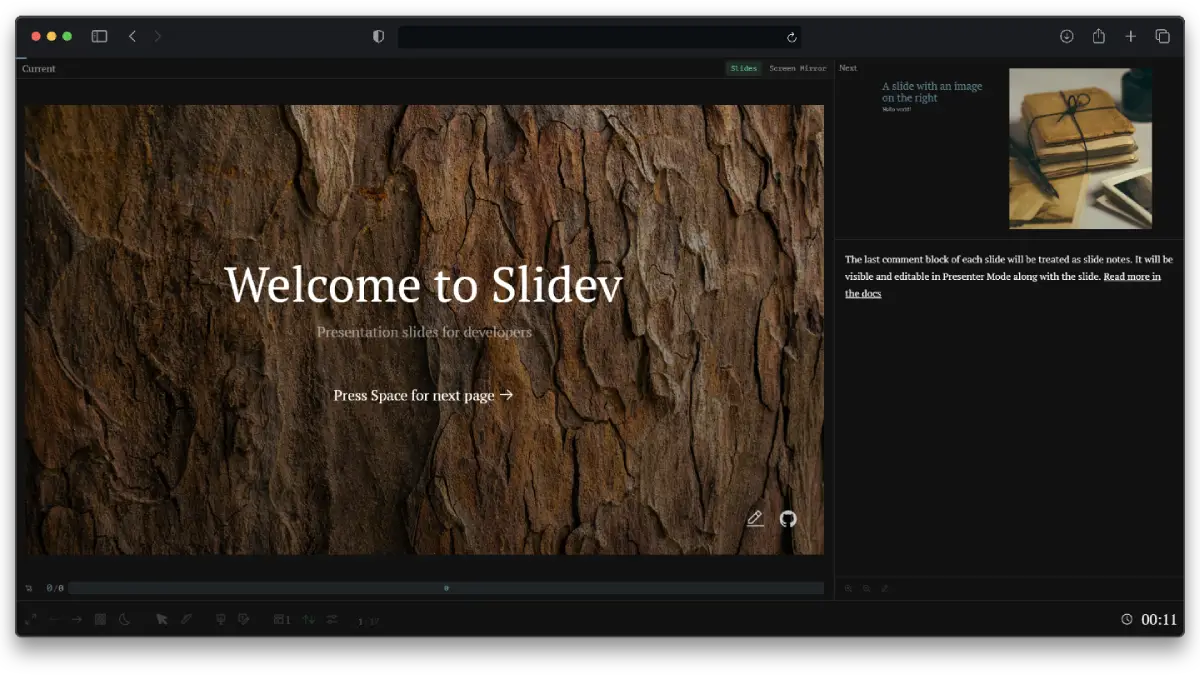
shortcuts > restart | open | edit | quitCreating Your First Presentation
By default, a slides.md file will be created with some sample content. You can delete it and start from scratch if you prefer, but it is recommended to play around with the official examples first to see the special features, such as layouts and animations. You can use --- to create a new slide:
# Slide 1
---
# Slide 2
HeadMatter and FrontMatter
Each slide can have metadata at the beginning. When encountering YAML data wrapped in ---, it signifies a brand new slide. This metadata related to the slide is called FrontMatter and is used to record slide-related information. The first slide can set global presentation settings, referred to as HeadMatter.
---transition: fade-out---
# Hello World
Notes for Presenter
------
<!--The last comment block of each slide will be treated as slide notes. It will be visible and editable in Presenter Mode along with the slide. [Read more in the docs](https://sli.dev/guide/syntax.html#notes)-->
Presenters can add notes for each slide. The last comment of each slide will be treated as notes and displayed in Presenter Mode, supporting both Markdown and HTML.
Modifying Layout and Background Image Example
For example, built-in default layout and image settings allow quick adjustment of page layout and used images:
---layout: image-rightimage: images/cat.jpg---
# A slide with an image on the right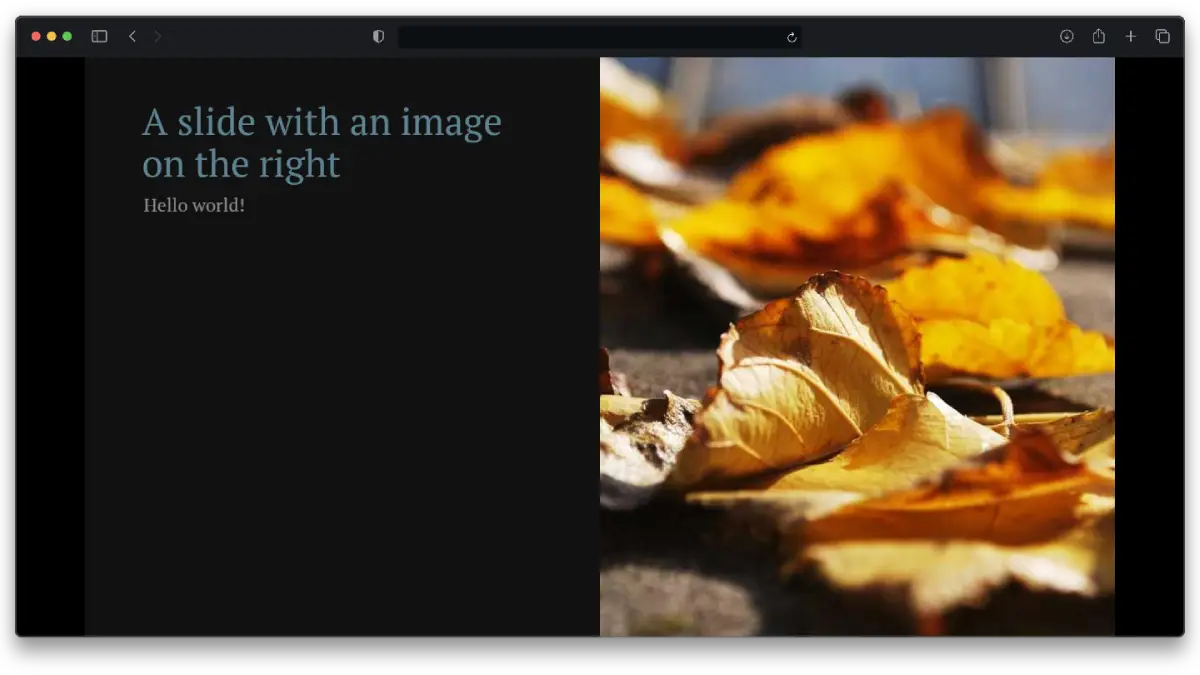
Different themes provide various layout properties. You can check the corresponding documentation or create your own layout, which essentially means creating a Vue component.
Customizing Structure and Styles
You will find that writing HTML and CSS directly in Markdown works similarly to Vue components. Each slide acts as an independent component where you can include style scoped to the component:
<style scoped>h1 { outline: 1px solid red;}</style>Or you can directly use the already integrated unoCSS (an Atomic CSS framework similar to TailwindCSS):
<div class="text-red-300 text-2xl">Hello World</div>(Additional) Icon Usage
Icons are essential for a good slideshow. Slidev has also integrated relevant Icon solutions. You just need to download the corresponding icon package, and you can check Icônes for more details.
pnpm add @iconify-json/[the-collection-you-want]For example, adding the corresponding icon library dependency: @iconify-json/mdi allows you to use related components in your presentation:
<mdi-account-circle />(Additional) Code
Like Markdown, especially, after writing in different languages, syntax highlighting will still display accurately:
```cssh1 {  border: 1px solid red;}```
```html<div class="flex gap-4">  <div>Syntax highlighting is built-in</div></div>```
```javascriptexport function sayHello() {  console.log('Hello');}```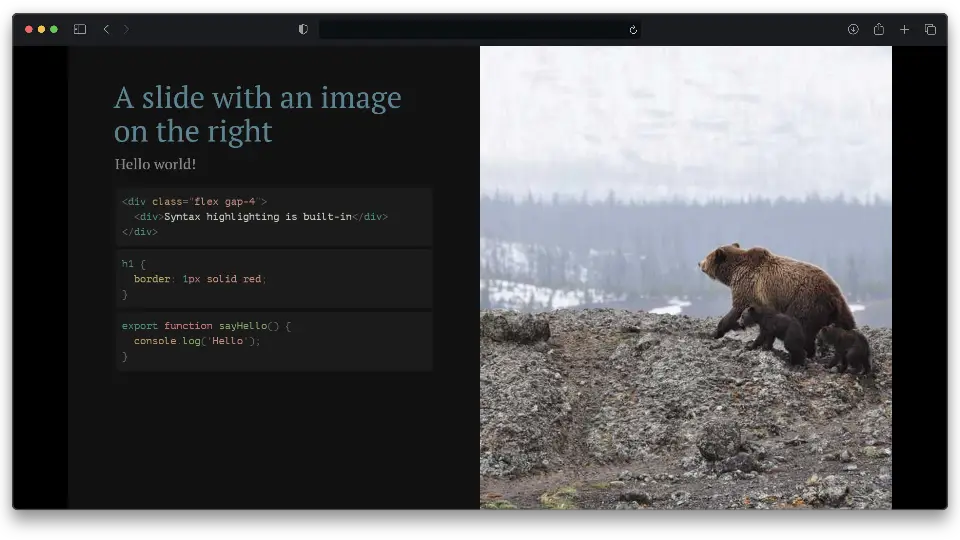
This is because Slidev also integrates Shiki syntax highlighting by default, allowing any Shiki-related settings, even animations! (Shiki Magic Move).
(Additional) Highlighting Key Points
Slidev uses RoughNotation to add hand-drawn style markings and can use the v-mark directive on elements:
- Trigger timing
- Custom colors
- Custom types
The official documentation on Rough Markers has excellent descriptions and introductory videos for reference.
(Additional) Animations
The official documentation has a detailed animation guide.
v-click Shows After Click
The simplest and most common presentation animation is triggering the appearance of screen elements after a “click” action. This can easily be achieved using the v-click component or directive on elements. Each presentation can access the number of clicks made through $slidev.nav.clicks.
<!-- Click once --><v-click>Click Once</v-click><!-- Appears after two clicks --><div v-click class="text-xl">Click Twice</div>{{ $slidev.nav.clicks }}v-after Continues Display After Click
v-after is used to continue from the state of the previous v-click.
<!-- Click once --><div v-click> Hello </div><div v-after> World </div> <!-- or <v-after> World </v-after> -->Presentation
In the bottom right corner of any presentation, there will be a hidden navigation bar for operating the presentation. The official documentation has a UI document explaining the details.

- Full screen
- Previous/next slides or actions
- Slides overview
- Dark mode
- Camera view / Recording tools
- Drawing and annotating
- Side editor, embedded editor
- Exporting files
- Presentation messages
- More options……
Deployment
Since Slidev is a tool for generating presentations, traditionally you would need to build an entire website and upload the generated website files (usually the dist folder in Vite) to various services. We try to automate the deployment to GitHub Pages for free (or any other service that hosts static websites).
Specifically, you can automate the CD workflow using GitHub Actions. First, set up the GitHub Pages configuration source for the project:
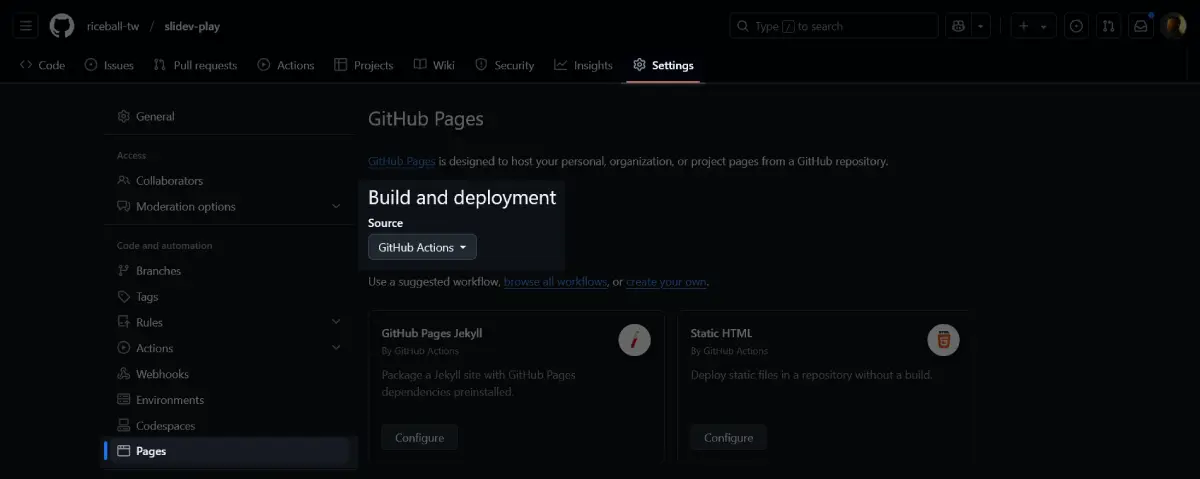
Next, use the deployment script provided by the official documentation to set up the CD configuration seamlessly. Future changes in the main branch will trigger updates to the online presentation website.
name: Deploy pages
on:  workflow_dispatch:  push:    branches: [main]
permissions:  contents: read  pages: write  id-token: write
concurrency:  group: pages  cancel-in-progress: false
jobs:  build:    runs-on: ubuntu-latest
    steps:      - uses: actions/checkout@v4
      - uses: actions/setup-node@v4        with:          node-version: 'lts/*'
      - name: Setup @antfu/ni        run: npm i -g @antfu/ni
      - name: Install dependencies        run: nci
      - name: Build        run: nr build --base /${{github.event.repository.name}}/
      - name: Setup Pages        uses: actions/configure-pages@v4
      - uses: actions/upload-pages-artifact@v3        with:          path: dist
  deploy:    environment:      name: github-pages      url: ${{ steps.deployment.outputs.page_url }}    needs: build    runs-on: ubuntu-latest    name: Deploy    steps:      - name: Deploy to GitHub Pages        id: deployment        uses: actions/deploy-pages@v4
Exporting
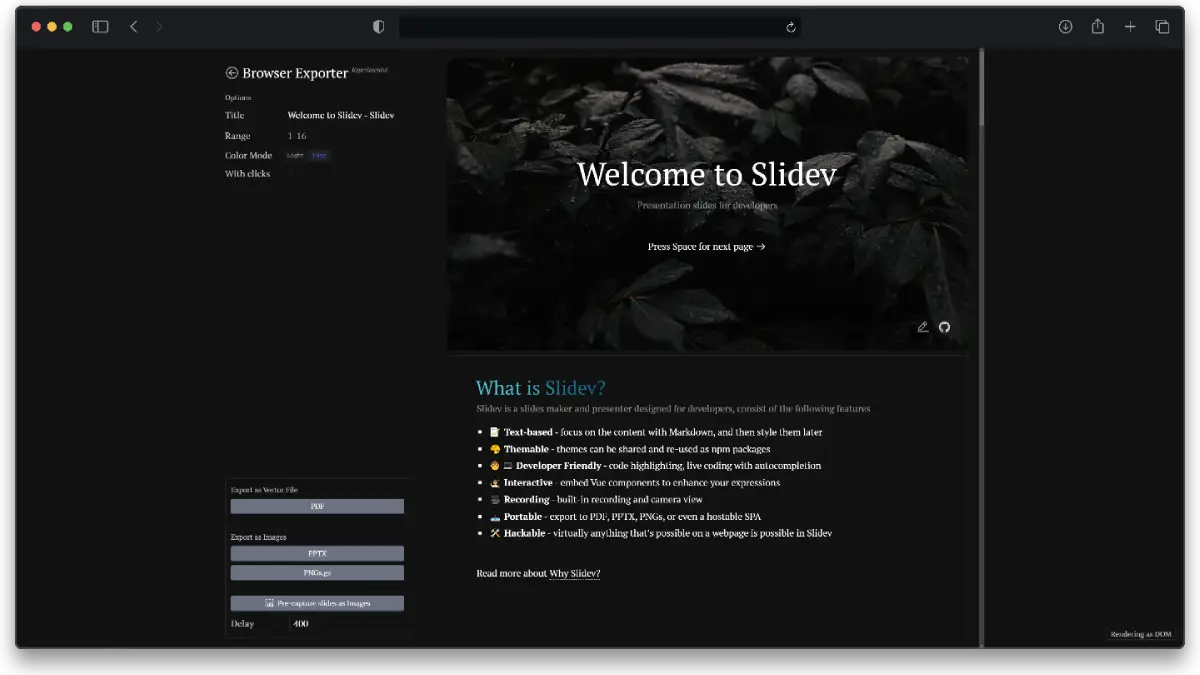
If you’re not interested in web pages and want presentations ready for immediate use, Slidev supports multiple output formats that can be adjusted and exported via commands or the export button in the lower left of the navigation bar:
Conclusion
If you are a web technical person (especially frontend), Slidev is definitely suitable for technical presentations. Deep Markdown users can also give it a try. More interesting features not mentioned can be found in the official feature list.