How I write GitHub profile
Why Write a GitHub Profile
The question “How to write a GitHub profile” is like “How developers create their business cards.” Your GitHub profile is the first impression for those interested in you, so it’s wise to include projects you love to participate in or showcase your expertise.
Ultimately, this is my personal GitHub profile.
How to Write Your GitHub Profile
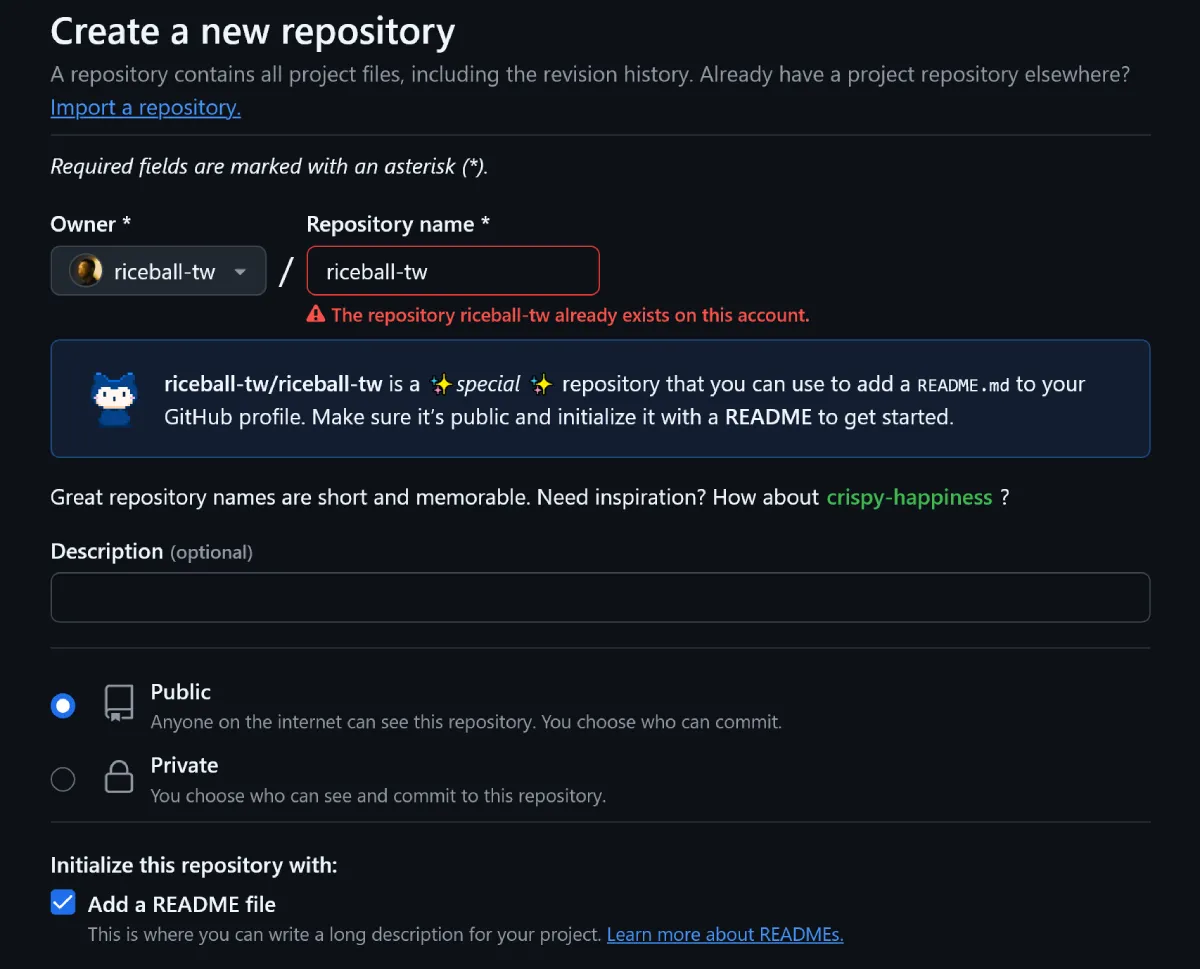
Step 1: Create a Profile Repo
A GitHub profile is not created through other settings; it is created by establishing a repository with the same name as your GitHub account, and the README.md inside is your profile.
Step 2: Write an Introduction
I feel there’s no need to list a long array of technologies or levels. Since I am passionate about maintaining a technical blog, I focus on introducing my work, blog, or resume in detail, as interested people will click on them themselves.
<h3>Hi 👋, I'm Riceball</h3><p>A self-taught frontend developer from Taiwan, Passionate about developing interesting web apps!</p>
- [📜 Resume](https://weweweb.pages.dev/en/resume/)- [💼 Portfolio](https://weweweb.pages.dev/en/work/)- [🏡 Personal Website](https://weweweb.pages.dev/en/)- [📝 Blog](https://www.webdong.dev/en/)
---
<!--START_SECTION:feed-->#### [Implementing a Cinema Seat Selection System](https://www.webdong.dev/post/cinema-seats-layout/)I encountered an interesting frontend UI question and realized that a comprehensive understanding of frontend concepts was necessary to solve it. This also allowed me to extend and raise more questions in areas of interest, so I documented my thought process. As a frontend engineer, how would you implement the cinema seat selection system shown above?#### [Intersection Observer Real Case: Auto Updating TOC](https://www.webdong.dev/post/real-use-case-of-intersection-observer-toc/)Recently, I worked on a feature related to the Table of Contents and found it to be a great use case for Intersection Observer. By listening to specific elements, the TOC status can be updated automatically. In the past, methods like getBoundingClientRect were needed to check if elements left the viewport, but now this requirement has become much easier to implement.#### [CSS Grid Real Case: Extended Sidebar](https://www.webdong.dev/post/real-use-case-of-css-grid-extended-sidebar/)It's rare to encounter special visuals that require CSS Grid in real web pages. Recently, while creating some unique visual layouts, I felt it was particularly suitable as a CSS Grid inspiration tutorial, so I wrote this article to help deepen the understanding of CSS Grid through real-world examples.#### [Understanding CORS for Web Developers](https://www.webdong.dev/post/cors-for-web-developer/)CORS (Cross-Origin Resource Sharing) is a mechanism that determines whether a web page can access resources from other origins, effectively preventing unauthorized resource access between different origins. Through CORS, legitimate cross-origin requests can be allowed while protecting user data.#### [Let's Solve FizzBuzz! With Detailed Problem-Solving Approach](https://www.webdong.dev/post/fizzbuzz/)This time, I describe how to solve the problem by breaking down the solution path step by step. It covers everything from the basic solution to separating data and logic, maintaining immutability, edge cases, and documentation. Print numbers from 1 to 100; if the number is a multiple of 3, print Fizz; if it's a multiple of 5, print Buzz; if it's a multiple of both 3 and 5, print FizzBuzz.<!--END_SECTION:feed-->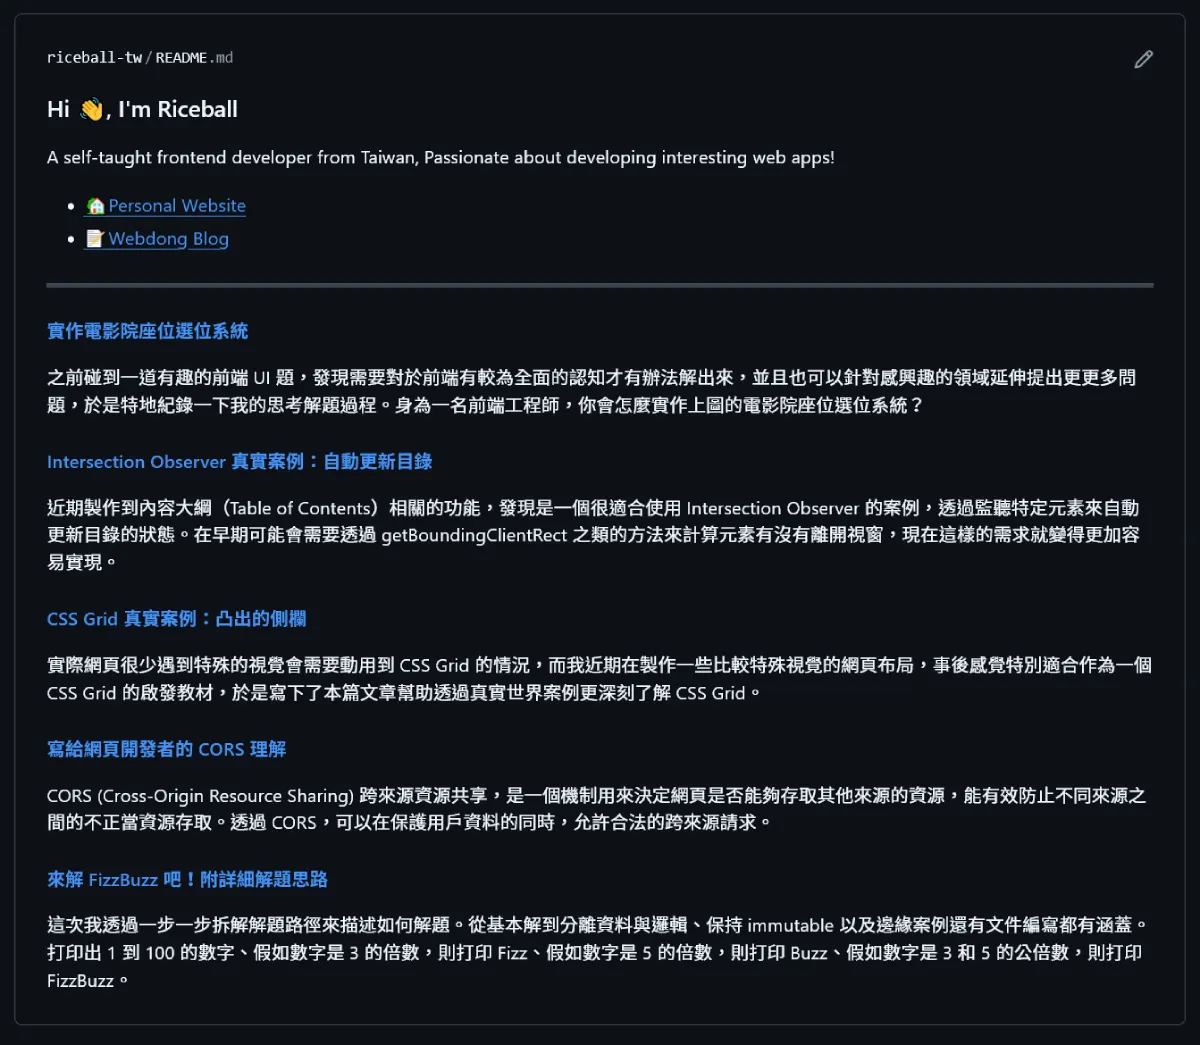
My blog has an RSS Feed, so I use some ready-made GitHub Actions to regularly fetch the latest articles and update them in my profile. You can refer to rss-to-readme if you’re interested.
name: Update this repo's README
on:  push:  schedule:    # Once a day at 8 AM    - cron: 0 8 * * *
jobs:  update:    runs-on: ubuntu-latest    steps:      - uses: JasonEtco/rss-to-readme@v1        with:          feed-url: https://www.webdong.dev/rss.xml          readme-section: feed          max: 5          template: "#### [{{ title }}]({{ link }}) \n{{ contentSnippet }}\n\n"